WORKING WITH CLAY
Thank you for leading a clay class, as part of Art in Action — or for helping out during a lesson! Clay is such a fun medium to work with; our students love it!
Scroll to the end of this post for some handy definitions.
And have fun!
Firstly, here are some lesson tips:
- Clay fresh from the bag has been pre-wedged; all of the air bubbles have been removed. Since air bubbles in the clay can cause pieces to break when fired, encourage students not to overwork the clay, and keep this in mind when recycling extra scraps.
- Try to keep finished pieces not more than about an inch thick. If too thick, the clay may not be able to dry completely and can break when fired. If a sculpture is thicker, you can carve out clay from the base or poke a hole to make it hollow.
- Etch the students’ initials, name or student number on the bottom of each piece.
After your class with raw clay is complete:
- DO NOT ALLOW CLAY TO GO DOWN THE DRAIN! Always have students rinse hands in a bucket of water, and dump the bucket outside.
- Place finished pieces in cardboard flats–extras are available in the art closet–and label the flat with the teacher/grade and the date it was finished.
- Place boxed pieces on the shelves in the back right of the art closet to dry. They will dry for 2-3 weeks before being bisque fired. When fired, they will be returned to the shelves (leave your name and # on the box if you want to be called when they’re done).
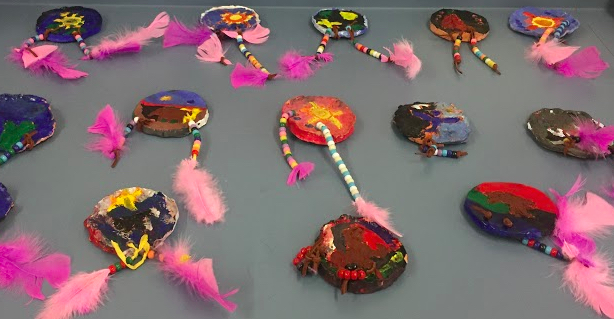
- After the pieces are fired, if you want to add color, they can be painted with Tempera, then sprayed with a clear varnish, or glazed with the ceramic glaze. When painting with the ceramic glazes, 2-3 coats should be used for best color (the glaze dries very quickly and extra coats can be done immediately).
- After glazing, the pieces will need to be fired again, so use the same boxes and labeling as described above, and put them back on the drying shelves to wait for the next firing.
Some definitions:
Kiln: The oven used to harden clay. When clay is “fired” in the kiln (typically at 1800-2500 degrees F), all the water is removed and the clay is chemically changed so that it is permanently hardened.
Slip: Clay mixed with a lot of water. Slip can be used as a glue to hold pieces together. First scratch or “score” the clay surfaces to be connected then apply slip like glue and make sure the pieces are well connected so they don’t fall apart as the clay shrinks in the kiln.
Wedging: This is a method of carefully kneading clay to remove any air bubbles . Air bubbles in the clay can cause pieces to explode in the kiln.
Bisque: This is the first firing. After a piece is bisque fired, it can be glazed, painted or left as is.
Glaze: This is like a “liquid glass” that is painted on bisque fired clay to add color and give the piece a smooth shiny finish. After glazing, pieces will require a second firing to finish.
–Rachel Winmill

